TABLE OF CONTENTS
Introduction
This guide walks you through creating a Role Group in ManagementStudio and assigning it to users so they receive the appropriate alerts.
Step 1 – Create the role group
Navigate to Role Groups
- Go to Administration → Role Groups.
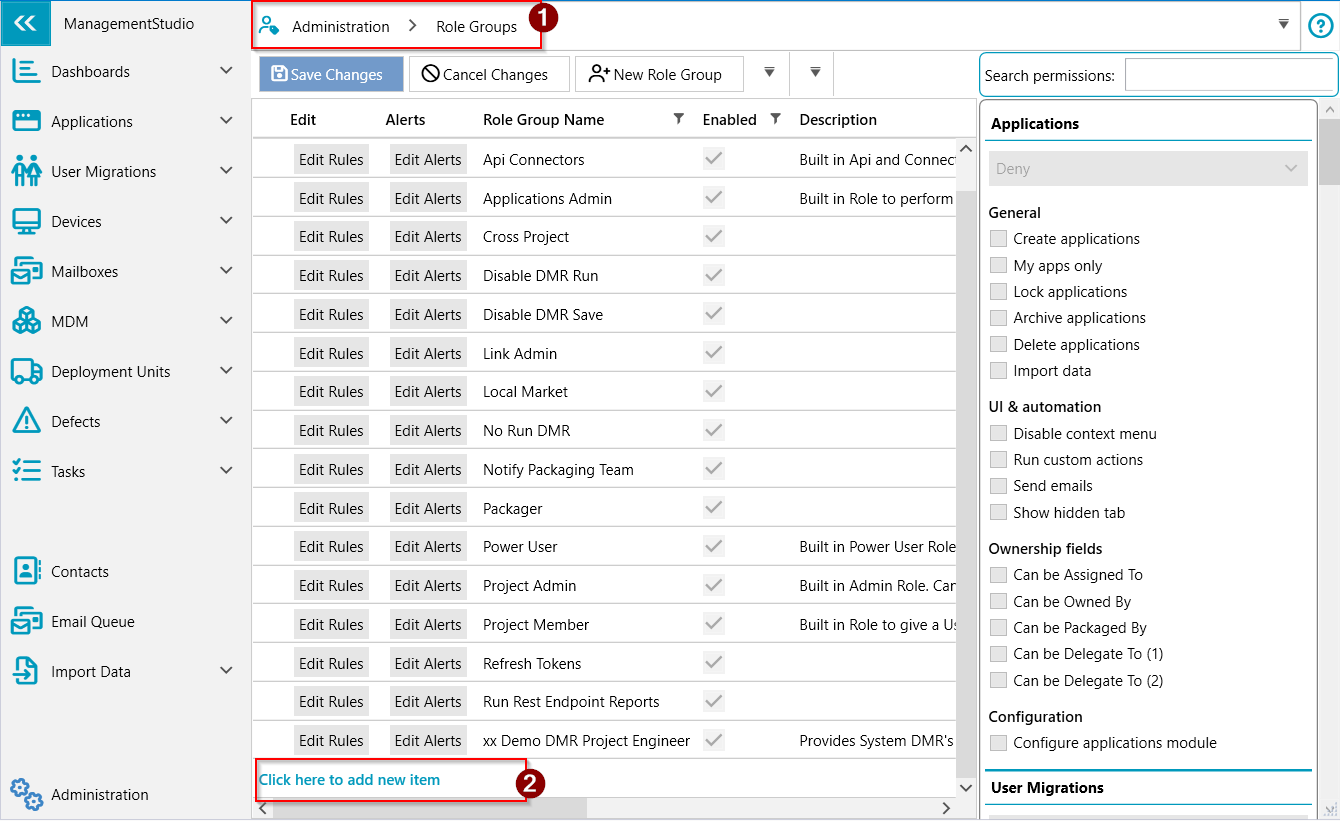
- Add a new role group
- Click “Click here to add new item”.
- Enter a Name (e.g. Notify Packaging Team) and a brief Description.
- Click Edit Rules.
- Configure any required rules for this role group.
- Click Finished when done.
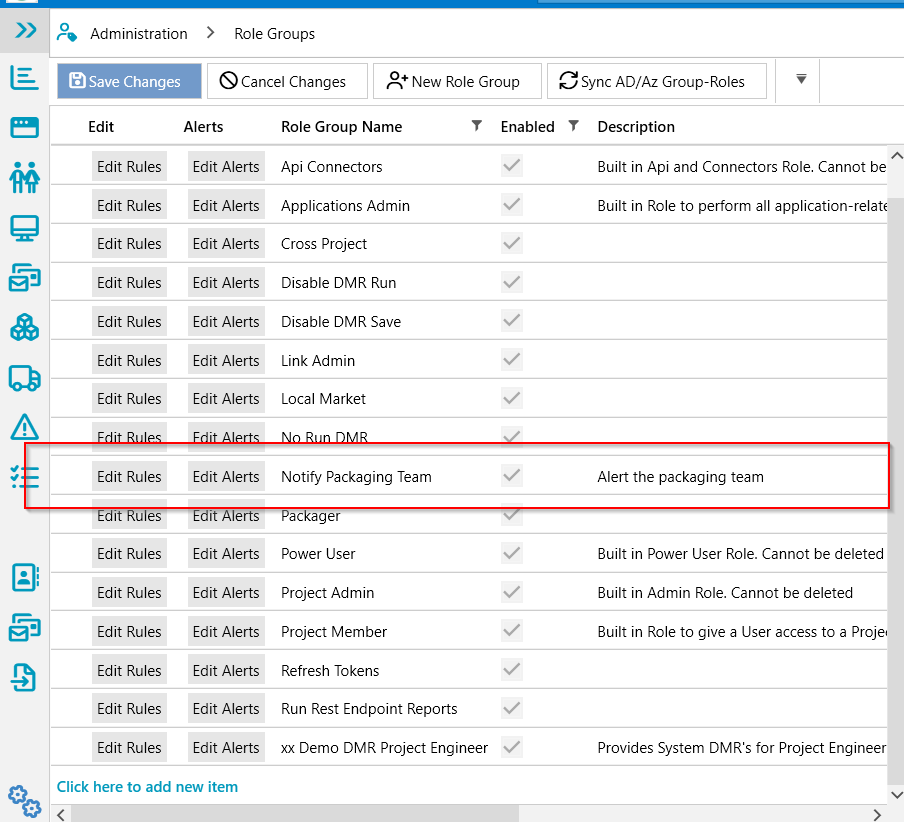
- Configure alerts
- Locate the newly created role group in the list.
- Click Edit Alerts.
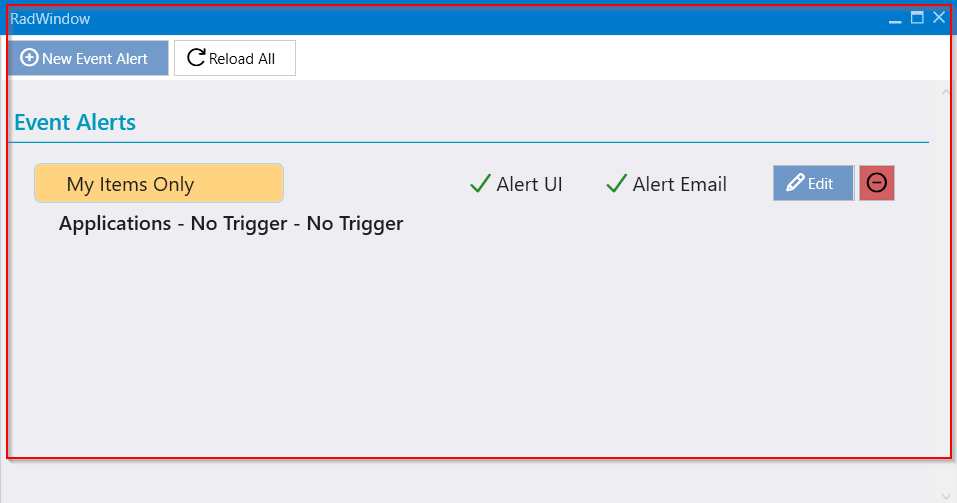
- Configure the alert settings as required (e.g. triggers, conditions).
- Close the window to save.
Step 2 – Assign the role group to users
Navigate to User Accounts
- Go to Administration → User Accounts.
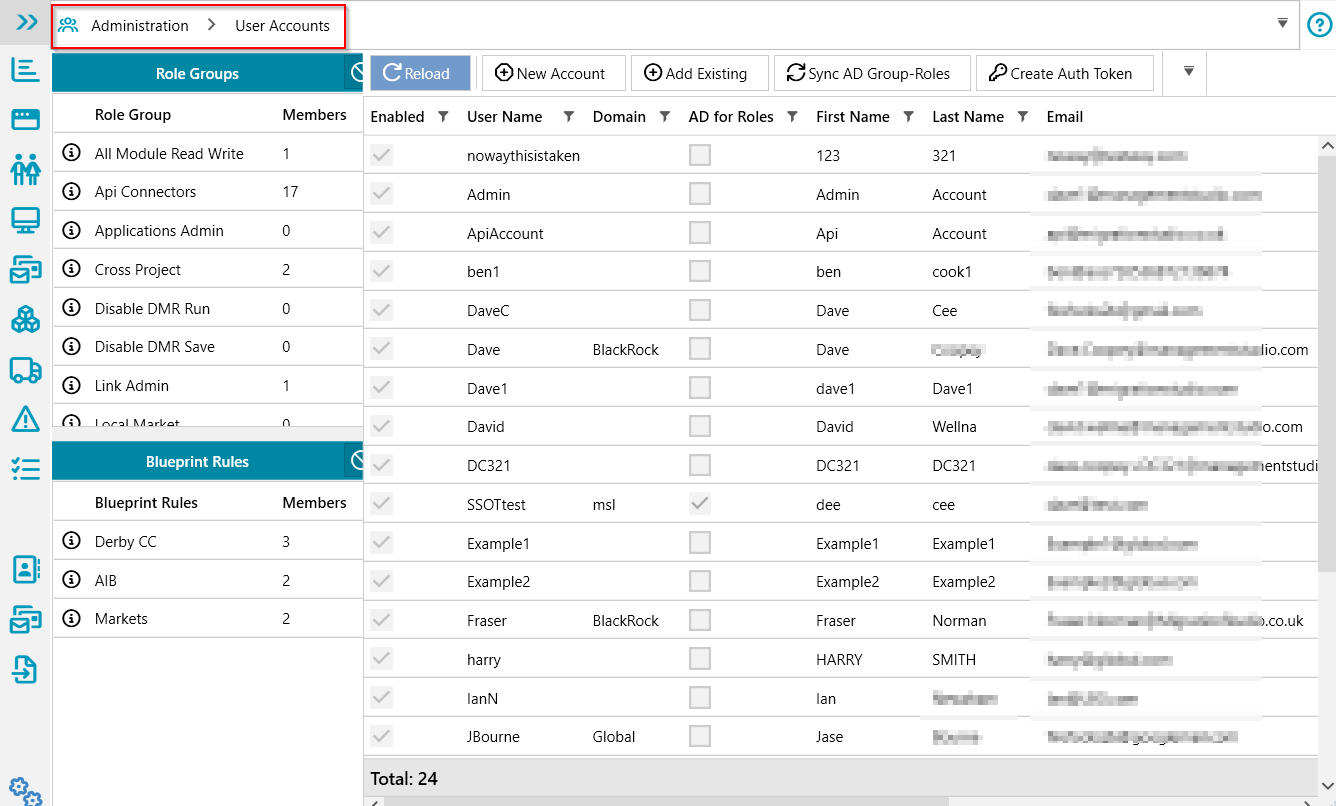
- Find the users
- Use the search or filters to locate the users who should receive the alerts.
- Select the users
- Highlight the relevant users in the grid (use Ctrl/Shift‑click for multiple).
- Add the role group
- Right‑click the selection and choose Add Roles.
- In the list, select the newly created role group (e.g. Notify Packaging Team).
- Confirm to apply.
- The selected users are now members of the role group.
- When the alert criteria are met, they will receive alerts according to the configuration.
Further Support
For additional assistance, visit the ManagementStudio Service Desk to search the knowledge base or submit a support ticket.
Was this article helpful?
That’s Great!
Thank you for your feedback
Sorry! We couldn't be helpful
Thank you for your feedback
Feedback sent
We appreciate your effort and will try to fix the article